Facial contours and blush placements:
Facial contours and blush placements
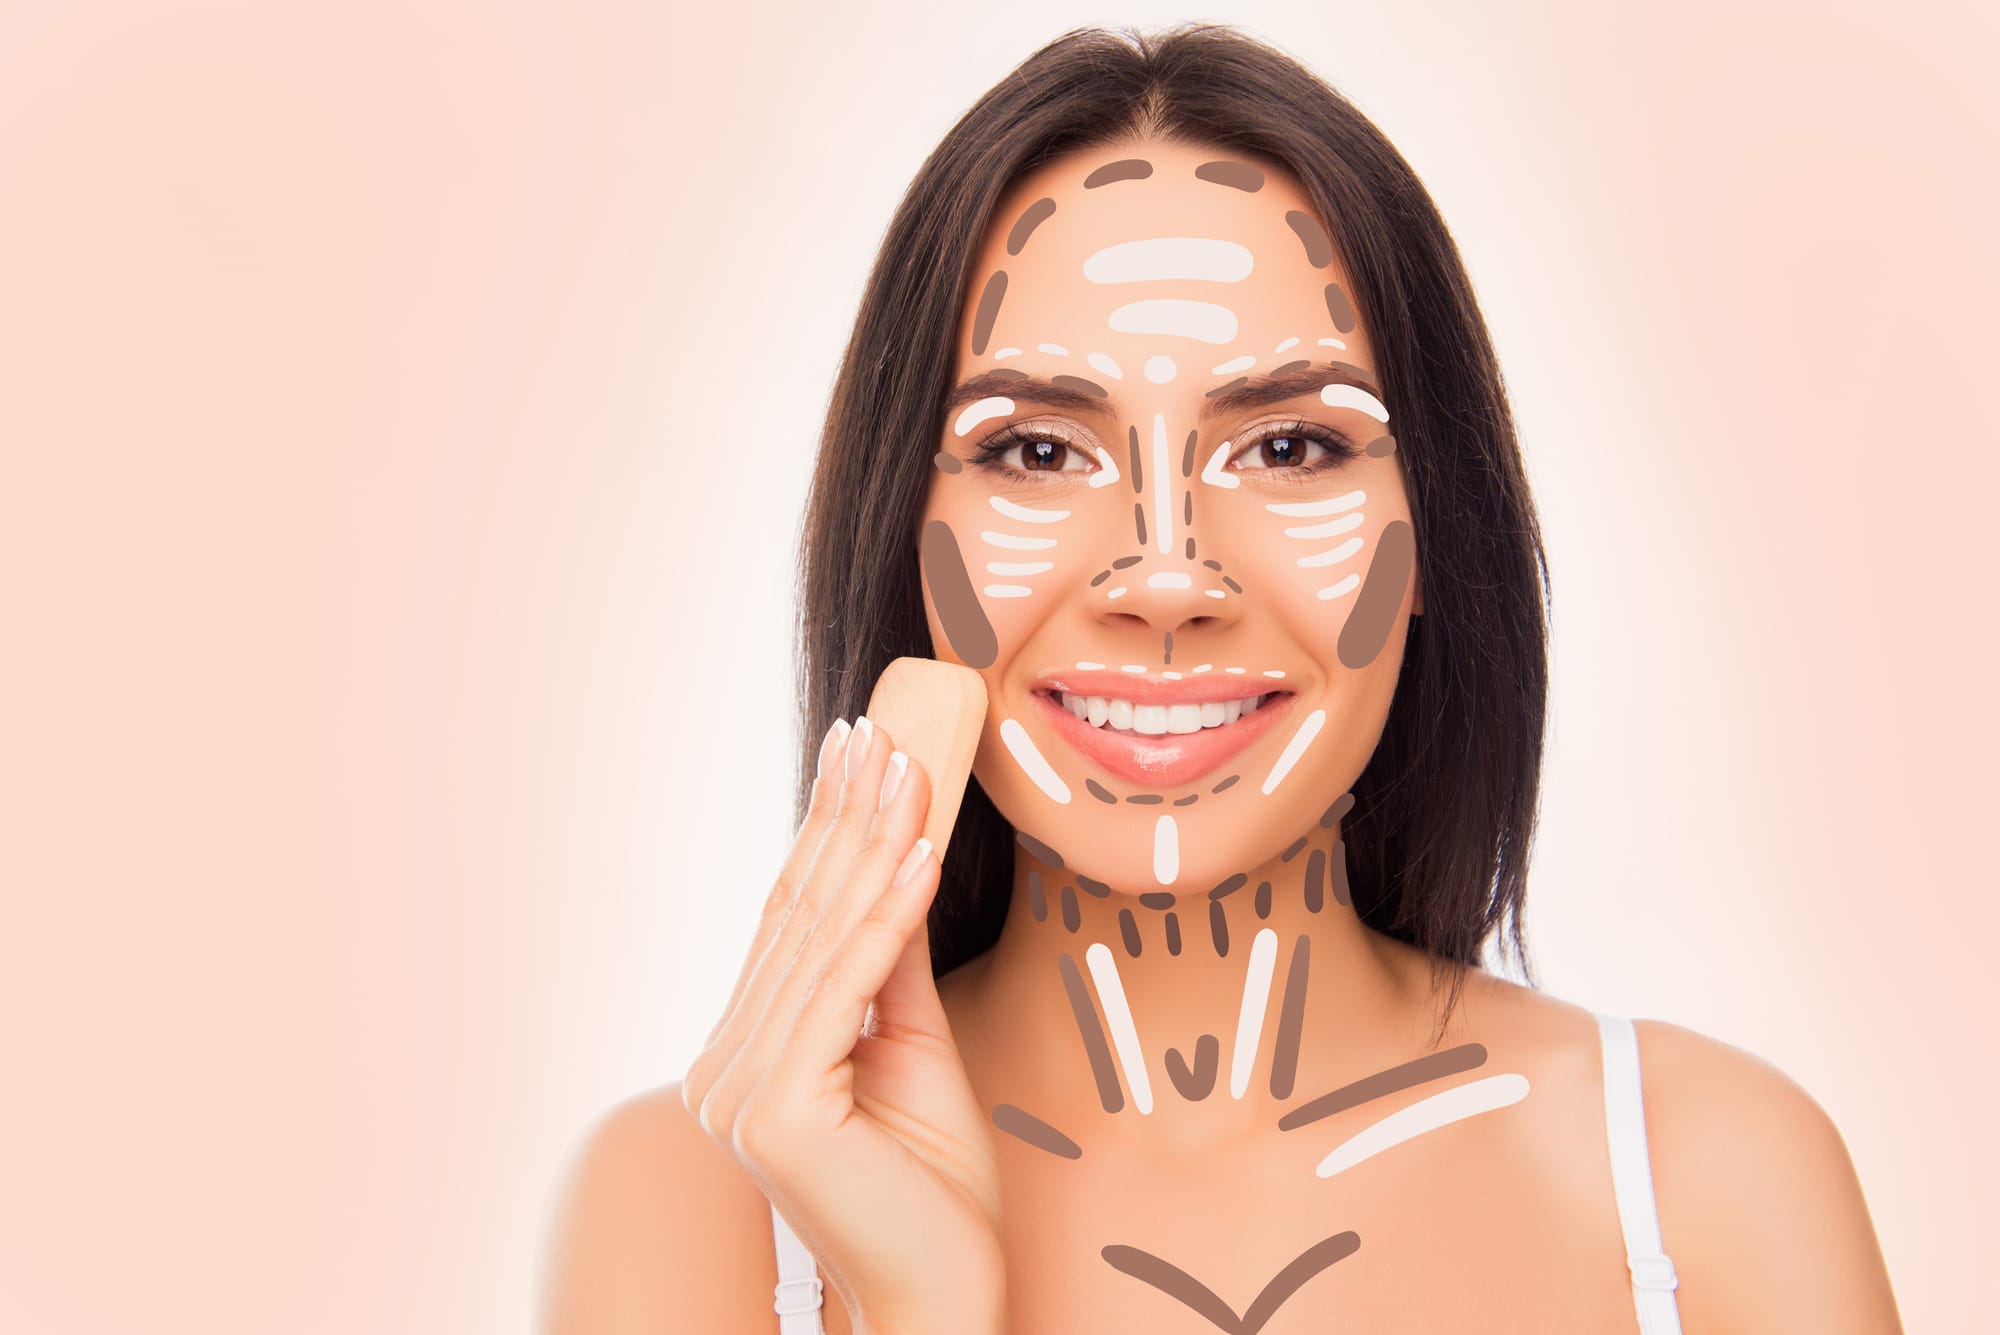
· To create a more lifted appearance in the cheek areas, you’ll want to apply a cool tone brown (that isn’t too far off from your natural skin tone) just slightly above your natural cheekbones. One thing to keep in mind when applying blush is the higher you place it on your cheek, the more lifted and longer your face will appear.
Putting it slightly higher will emphasize the shape and create more of a lifted illusion, while placing a contour shade right in the pit of your cheekbones, or below, will create the appearance of your face being shorter instead of longer and slimmer. (I typically place my blush near the sides of my face and the outer corners of my eyes because I have a rounder face. I’ve learned that the higher I apply contours and blush the longer and more angular my face looks.)
· Contouring your nose is something that takes a lot of practice, and time, but will help you love your nose more. An easy tip to start your contour is by connecting the tones to the beginning of your eyebrows, or the crease of your eyes; the higher the starting point depends on how much longer you want your nose to appear.
To make your nose shorter or have a lifted tip like a “button nose”, apply your contour shade underneath your nose, and across the bridge and tip of your nose. Now within the top lines from underneath and across the tip, add a highlight on the tip of your nose where you want it to look uplifted.
· Adding blush and bronzer can also aid in creating an overall lifted face structure. To achieve this, apply your blush and bronzer directly above any places you applied a contour shade: the edge of your forehead, sides of your face, and across your nose. In the end, contouring involves getting to know your face and learning what shape you desire. Playing around with new placements helps you learn what your preferences are. Makeup is fun, and it’s all about how you want to look!
By: Katie Benjamin